TrueCrypt whole disk encryption step by step
By Mirek on (tags: disk encryption, TrueCrypt, categories: infrastructure, security)Although TrueCrypt has a rich documentation (available here) I could not find any quick step by step tutorial on how to easily encrypt whole system. So this was the reason for this screenshot-based beginner’s tutorial.
Every confusing topic and phrase is well documented in TrueCrypt documentation so I will limit the comments to the very minimum.
Before you start installing TrueCrypt and encrypting your system drive prepare one blank DVD or CD which will be used for rescue purposes. If you already got one, we can start…
Update: True Crypt is no longer developed and supported and is
not recommended as it may hova unfixed security issues. This is an
information from official TrueCrypt site.
I have installed TrueCrypt 7.0a and want to have my all partitions encrypted including operating system boot partition (Windows 7 Home Premium x64).
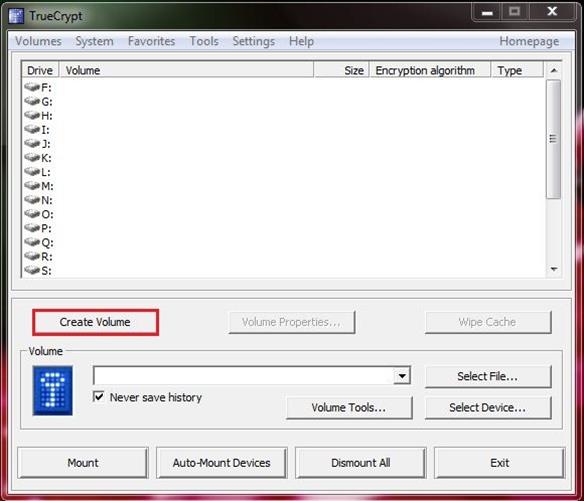
- Run TrueCrypt and choose Create Volume"
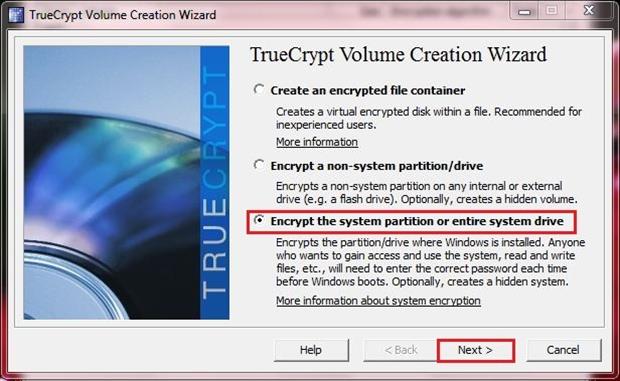
- Select third option and click Next
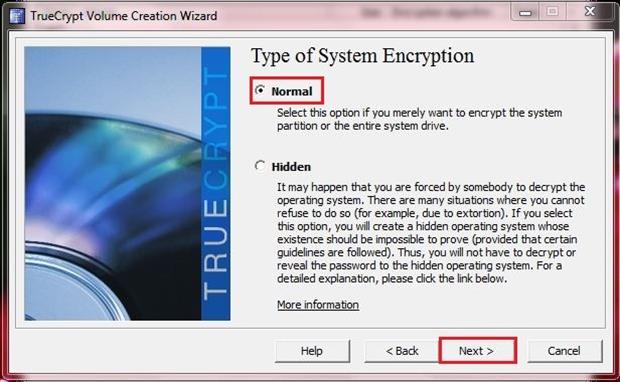
- Select Normal and Next (For details about hidden partitions see TrueCrypt documentation)
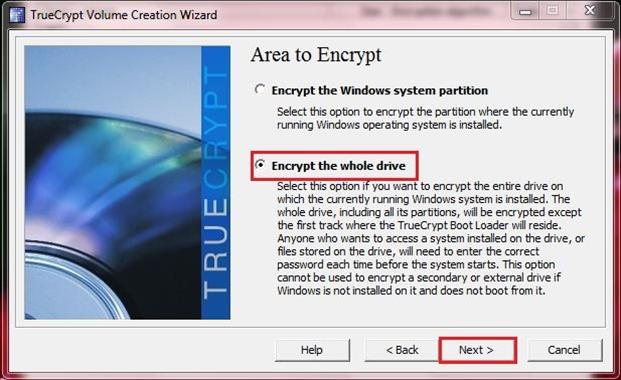
- Select second option and Next
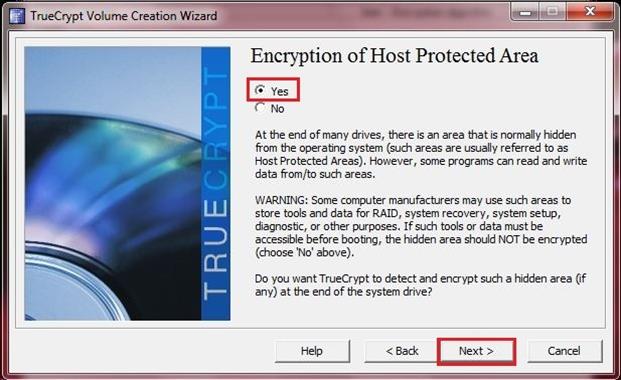
- Select Yes and Next
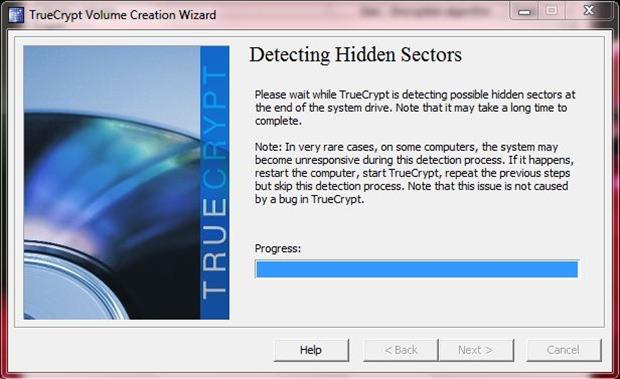
- Wait for the process ends and click Next
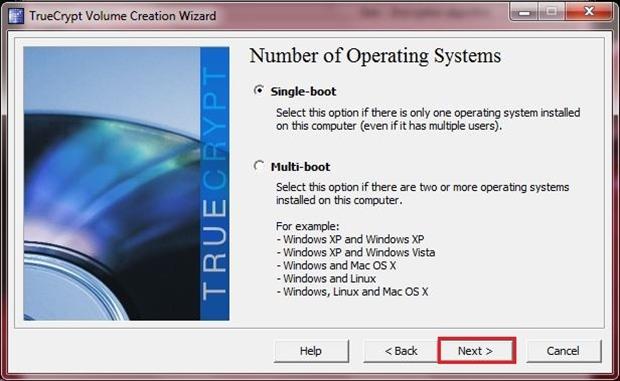
- Select Single-boot of you have only one operating system on the machine, elsewhere select Multi-boot.
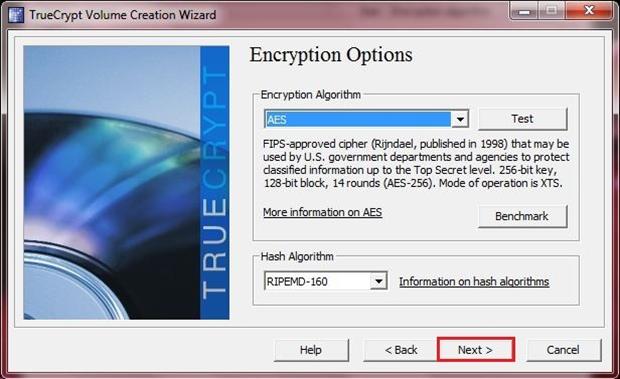
- Here leave the defaults as they are optimized for most cases.
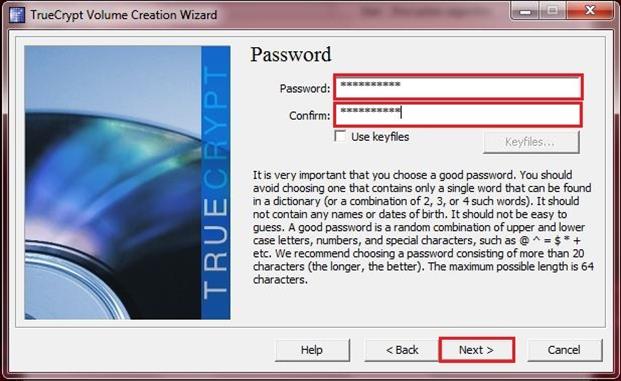
- Type the password which will be main password for the system, required during the computer boot. Read advices about the strength of the password.
- Move mouse randomly to generate strong encrypting keys.
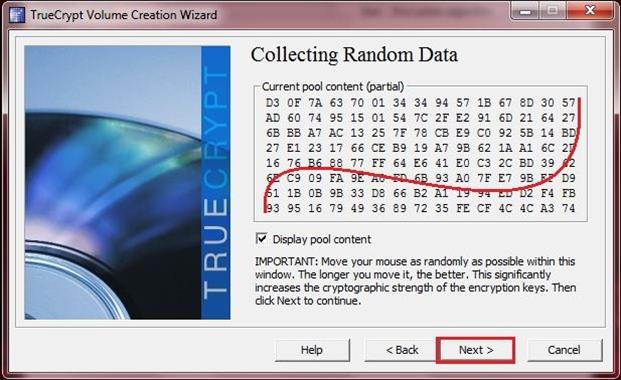
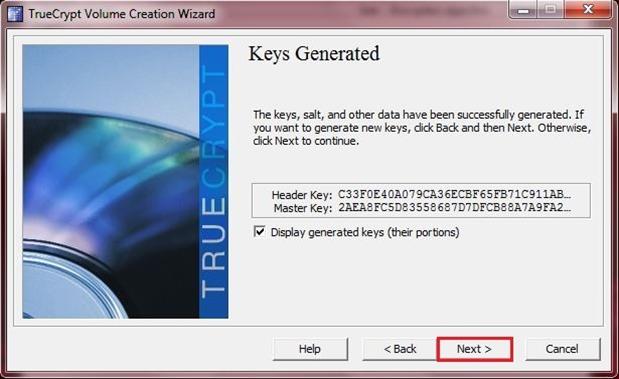
- Click Next
- Prepare one blank DVD or CD to create the Rescue Disk (Read more on TrueCrypt documentation)
Important: The purpose of Rescue Disk is NOT to reset o restore the forgotten password. It is used to restore the computer’s boot section if damaged or to decrypt the partitions if needed. Anyway the correct password is required.
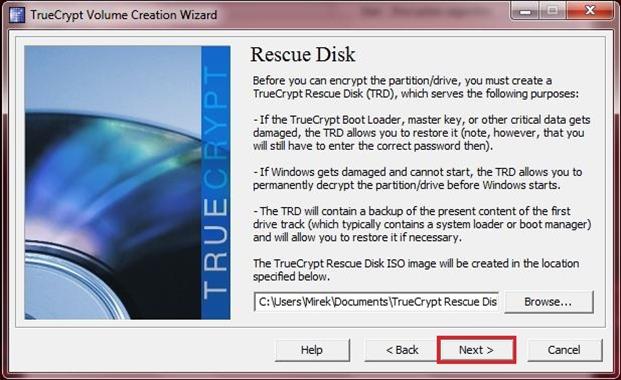
- Default Windows burner will start burning the Rescue Disk
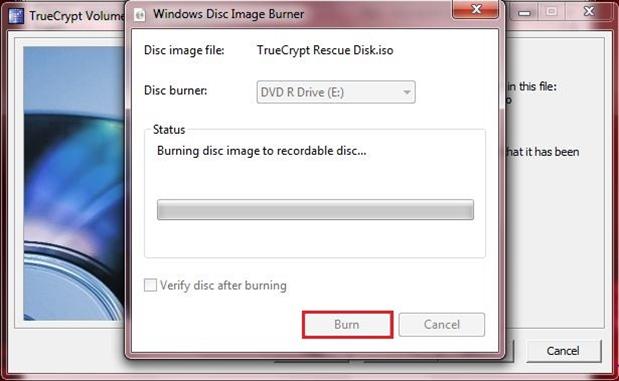
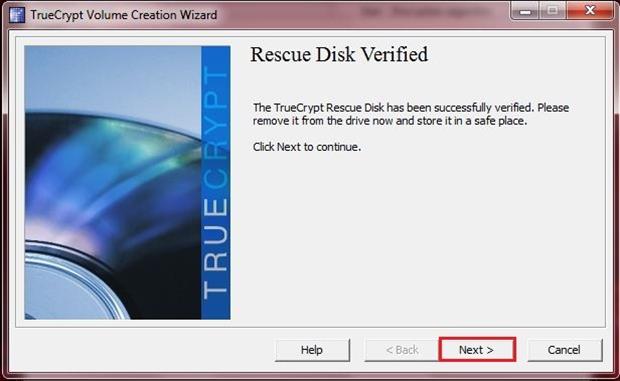
- After Rescue Disk is properly verified click Next
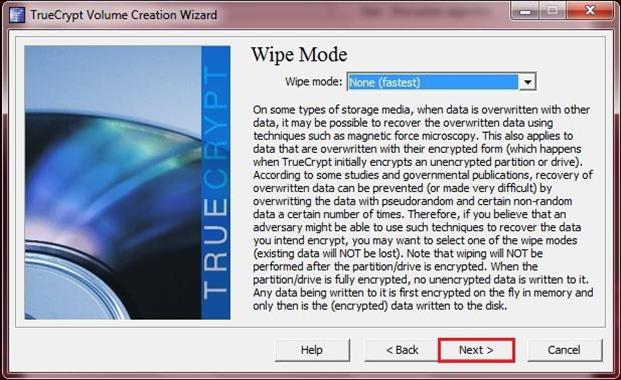
- If you already have some sensitive data on you hard disk use some kind of Wiping to ensure the higher security (first encryption process will take longer), otherwise left it None and click Next.
- Before TrueCrypt encrypt your hard drive the test of booting will be done. Click on Test and you machine will be restarted
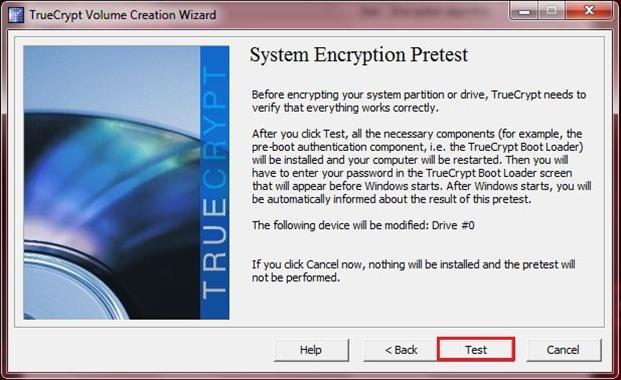
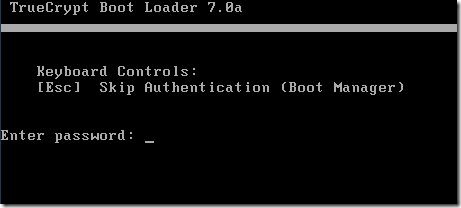
- After restarting you will see the TrueCrypt boot loader asking you for the encryption password. Type it and press Enter. Windows should begin loading.
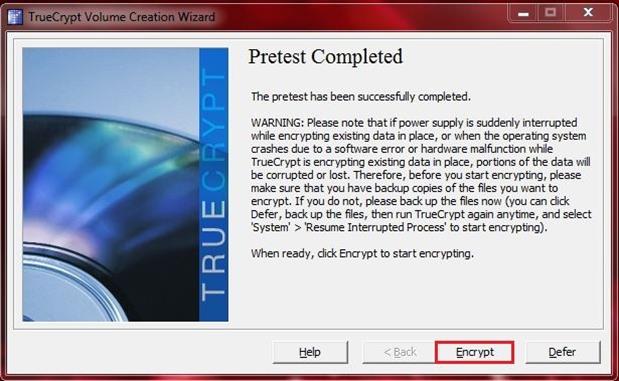
- After Windows starts the TrueCrypt should appear automatically and be ready for encryption process. The encryption will take some time. The more the disk capacity is the longer it takes and it does not depend on used and free space since whole disk, including free space, is encrypted. Fortunately the process can be paused and resumed so when you are ready click Encrypt.
- As you can see estimation time for test disk (500GB) was 10 hours.
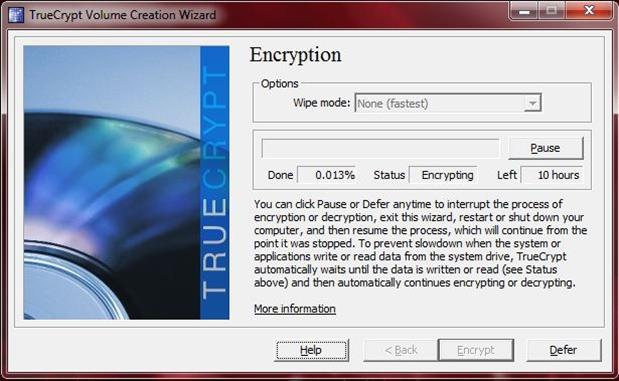
- After encryption process finish you can start using you computer as before since the encryption is done on-the-fly almost invisible for the user.

 back
back